Setting up SSO support for your Replicant tenant
Last updated: April 8, 2026
Overview
Replicant offers Single Sign-On (SSO) support, a user authentication service that allows users to use one set of login credentials to access multiple applications. We support both Google's identity platform and Security Assertion Markup Language 2.0 (SAML2). SAML2 is used by industry-leading identity providers such as Okta, OneLogin, Ping, Google, and Microsoft. This feature simplifies the process of provisioning user access, allowing end users to log in securely without having to manage multiple passwords.
SAML2 Configuration Details
Your Engagement Manager or Replicant Support will provide your tenant slug. This is typically your company name or an abbreviated version of it.
When configuring your SAML application in your identity provider (IdP), be sure to replace {{tenant-slug}} with your assigned value.
Connection Information
Entity ID:
urn:auth0:replicant-ai:{{tenant-slug}}ACS:
https://replicant-ai.us.auth0.com/login/callback?connection={{tenant-slug}}
SAML Claims (Attributes)
Replicant SSO requires two specific SAML attributes to be sent in the SAML assertion:
name - This attribute should contain the user’s full name (first and last name).
email - This attribute should contain the user’s email address.
Example SAML Attribute Statement
<saml2:AttributeStatement>
  <saml2:Attribute Name="name">
    <saml2:AttributeValue>Jane Doe</saml2:AttributeValue>
  </saml2:Attribute>
  <saml2:Attribute Name="email">
    <saml2:AttributeValue>jane.doe@example.com</saml2:AttributeValue>
  </saml2:Attribute>
</saml2:AttributeStatement>
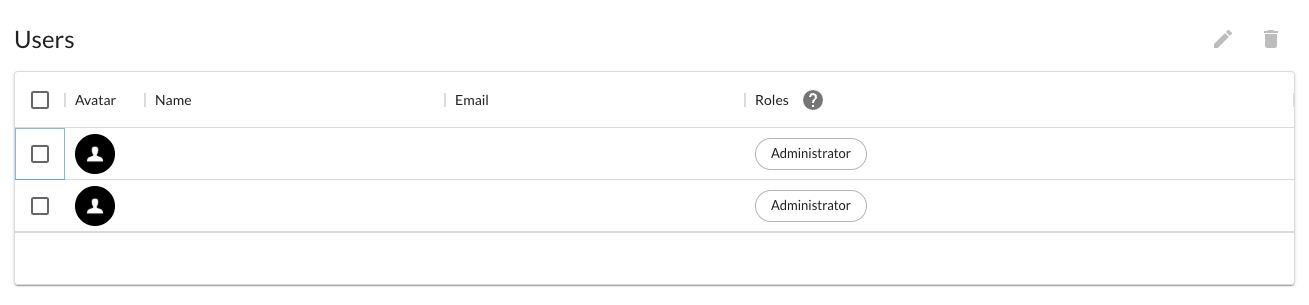
If these attributes are not configured correctly, users may appear without a name or email information in their profile and on the Users page.
Tenants
Production Tenant:
https://{{tenant-slug}}.replicant.aiSandbox Tenant:
https://{{tenant-slug}}-sandbox.replicant.ai
Setup
At Replicant, we use a single SAML2 configuration for both the production and sandbox environments to streamline the setup process. Your initial configuration and testing will be conducted in the sandbox environment using the details outlined above.
The setup process for enabling SSO with Replicant involves the following steps:
Create a new SAML application for Replicant.
Share your metadata.xml file or link with Replicant.
Replicant will provision the SAML connection using the following information from your metadata, which includes:
Your X509 signing certificate
The Sign-in URL (required)
The Sign-out URL (optional)
Provide the name and email address of the initial Administrator user for testing. Replicant will create this account and send an invitation to the specified user.
Ensure that the user mentioned in the previous step is provisioned in your environment to have access to the Replicant application.
After the above steps are completed, the new Administrator can test their login to ensure the configuration is working.
Let the Replicant Support team know that the configuration is working successfully and they will invite the Administrator to the production tenant.
User Creation
After the above steps have been completed and the test user (Administrator) can successfully log in, they will be able to create additional users using the following steps:
Log in to the Replicant dashboard.
Go to Settings in the top menu.
Click Users from the left-side menu.
Click + Invite Users.
A dialog will appear. Select the desired role from the dropdown and enter the email address(es) of the user(s) you wish to add. To invite multiple users at the same time, enter each email address on a separate line.
Click Invite.
Ensure that your IT/Administrator group has provisioned the invited users to access the Replicant application.
To view a chart of all available roles and the provided permissions, click the ? icon next to the Roles heading.